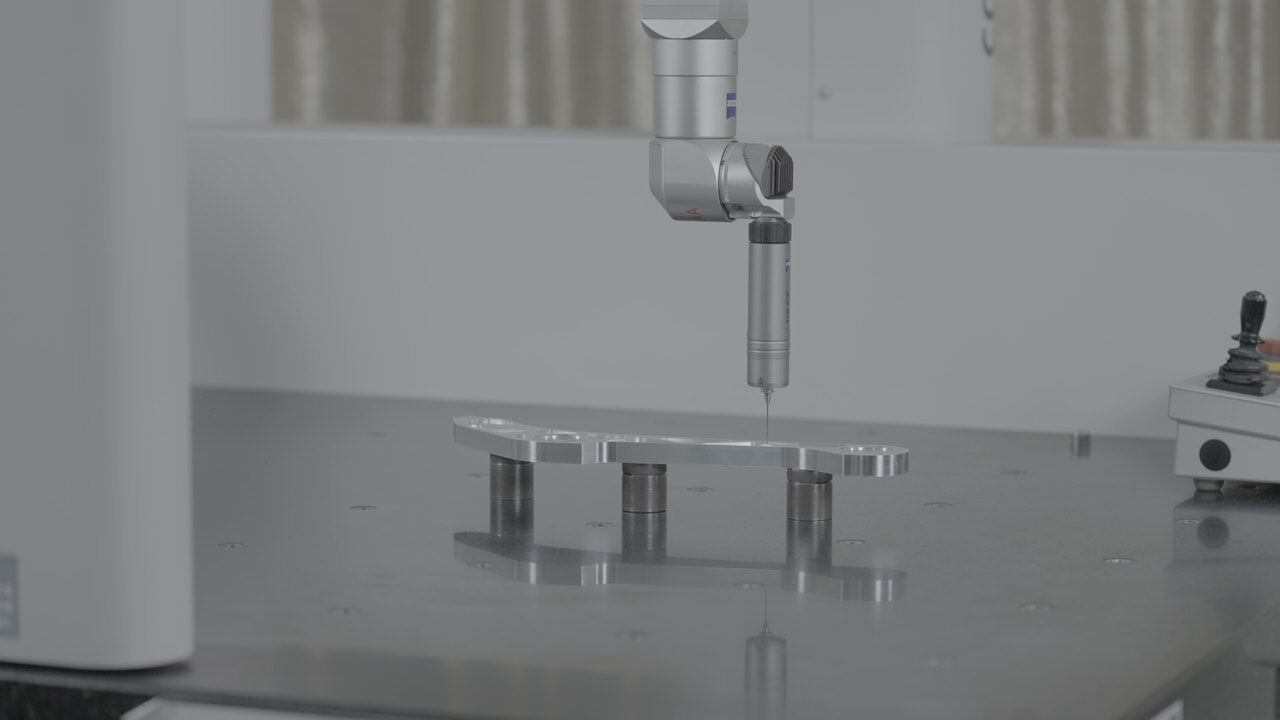
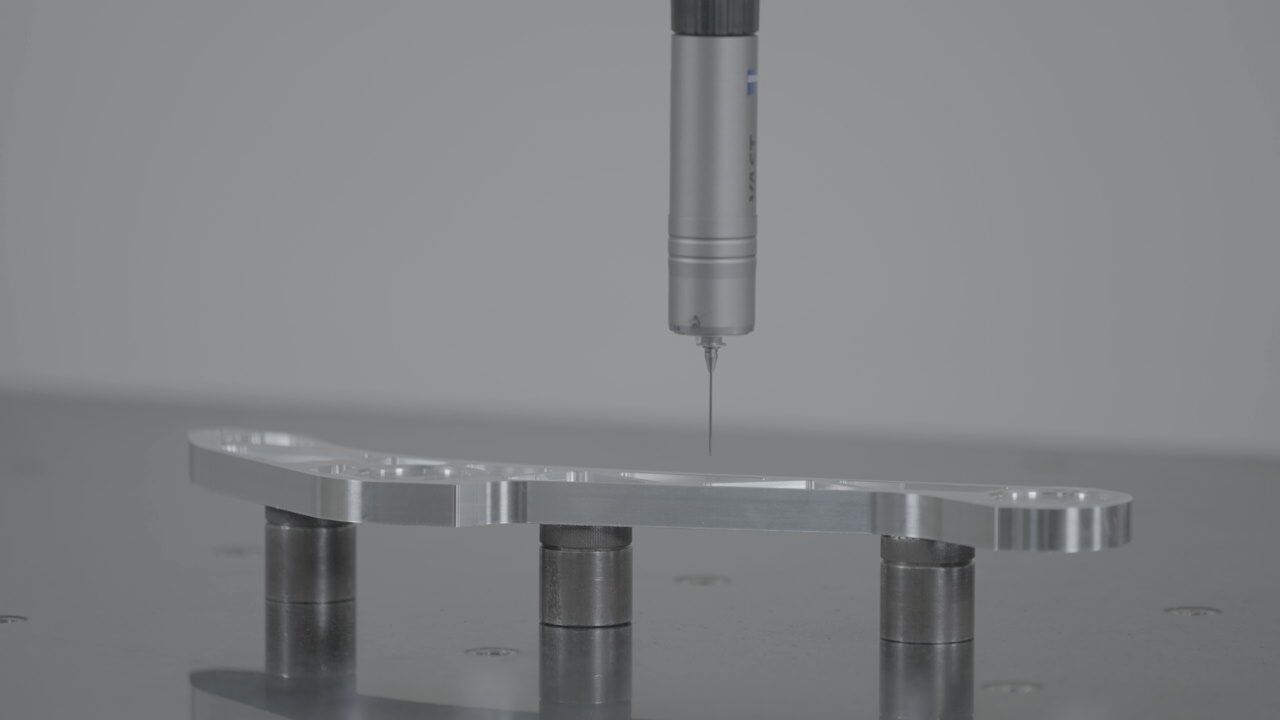
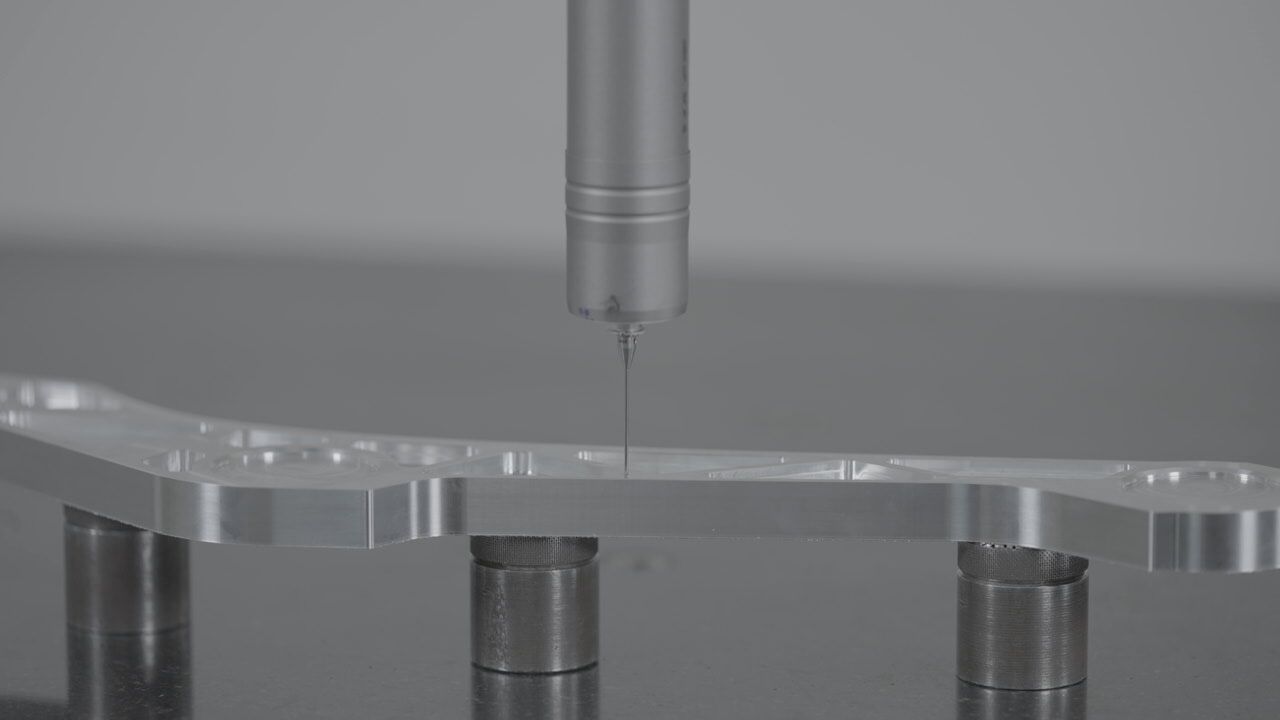
3D entry model NEW SPECTRUM has included contact scanning technology as standard equipment. This improvement also brings all 3D series to the scanning era. The contact scanning function can obtain more point data and contour information can obtain better reliability and repeatability than single-point measurement, so as to control the quality of shipments and reduce production costs.
This is our the newest 3D CMM at the factory in Huizhou. It can be controlled the tolerance within +/-0.02mm.


By the way, Hereby popularize knowledge tips of 3D CMM .
Three coordinate measuring machine (usually called three coordinate measuring machine), 3D Coordinate Measuring Machines, referred to as CMM
.
Mainly used in the machinery manufacturing industry. Such as automobiles, ships, aerospace, molds, machine tools, etc., to measure the geometric dimensions, form and position errors, and surface contours of various mechanical parts. In addition, it is now widely used in reverse engineering.
Some CMM machines equipped with laser probes can also be used to measure soft materials and materials with easily damaged surfaces.
The highest precision now is the CMM produced by the German Zeiss company and the German Leitz company.
Three-coordinates is a three-coordinate measuring machine, which refers to an instrument capable of measuring geometric shapes, lengths, and circular divisions within the space of a hexahedron. It is also called a three-coordinate measuring machine or a three-coordinate measuring bed.
The working principle of three coordinates
Any shape is composed of spatial points, and all geometric measurement can be attributed to the measurement of spatial points. Therefore, accurate collection of spatial point coordinates is the basis for evaluating any geometric shape.
The basic principle of a three-coordinate measuring machine is to put the measured part into its allowable measurement space, accurately measure the values of the points on the surface of the measured part in the three coordinate positions of the space, and process the coordinate values of these points through computer data.
Fitting to form measurement elements, such as circles, spheres, cylinders, cones, curved surfaces, etc., through mathematical calculations to obtain their shape, position tolerance and other geometric data.
In measurement technology, the emergence of grating rulers and later capacitive gratings, magnetic gratings, and laser interferometers revolutionized the digitization of dimensional information, which not only enables digital display, but also computer processing for geometric measurement, which is then used to control the lay Base.
A three-coordinate measuring instrument can be defined as "a detector that can move in three directions and can move on three mutually perpendicular rails.
The detector transmits signals in contact or non-contact, etc., and the displacement of the three axes Measuring system (such as optical ruler) is an instrument that calculates the coordinates (X, Y, Z) of each point of the workpiece and various functions through a data processor or computer."
The measurement functions of the three-coordinate measuring instrument should include dimensional accuracy, positioning accuracy, geometric accuracy and contour accuracy.
Application field of three coordinates
Measure high-precision geometric parts and curved surfaces;
Measure mechanical parts with complex shapes;
Detect free-form surfaces;
Optional contact or non-contact probe for continuous scanning.
The function of three coordinates:
Manual measurement of three-coordinate geometric elements, including points, lines, surfaces, circles, spheres, cylinders, cones, etc.;
Curve and surface scanning, support point scanning function, data output of IGES file, CAD nominal data definition, ASCII text data input, nominal curve scanning, contour analysis conforming to tolerance definition.
Calculation of shape and position tolerances, including straightness, flatness, roundness, cylindricity, perpendicularity, inclination, parallelism, position, symmetry, concentricity, etc.;
Supports multiple output methods such as traditional data output reports, graphical inspection reports, graphical data annotations, and data label output.
---------------------END---------------------------

