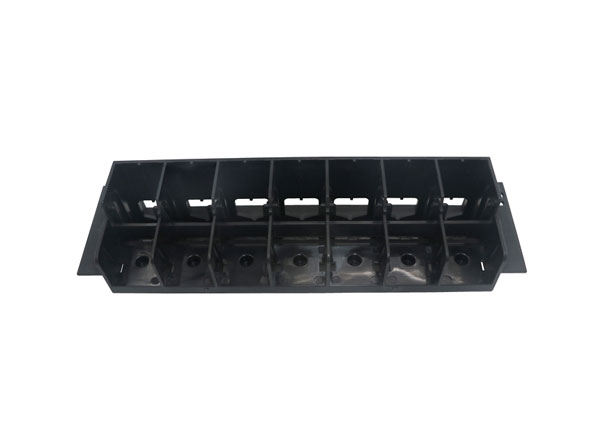
The basic injection molding process is to heat and pressurize plastic pellets until they flow into the mold cavity; cool the mold; open the mold; eject the part; and then close the mold. Repeat and repeat, typically 10,000 times for a plastic manufacturing run, and a million times over the life of the mold. Producing hundreds of thousands of parts is not easy, but there are some changes in the design of plastic parts, the easiest of which is to pay attention to the wall thickness of the design.

Injection Molding Wall Thickness Limits
If you take apart any plastic utensils around your home, you'll notice that most parts have a wall thickness of about 1mm to 4mm (the best thickness for molding), with an even wall thickness throughout. Why? There are two reasons.
First, thinner walls cool faster, reducing the cycle time of the mold and the time it takes to manufacture each part. If the plastic part cools faster after the mold is filled, it can be safely pushed out faster without warping, and because the time on the injection machine is expensive, the part is less expensive to produce.
The second reason is uniformity: During the cooling cycle, the outer surface of the plastic part cools first. Cooling causes shrinkage; if the part has a uniform thickness, the entire part will shrink evenly from the mold as it cools and the part will be removed smoothly.
However, if the thick and thin sections of the part are adjacent, the melt center in the thicker area will continue to cool and shrink after the thinner area and surface have solidified. As this thick area continues to cool, it keeps shrinking, and it can only pull material from the surface. The result is a small indent on the surface of the part, called a sink mark.
Sink marks simply indicate poor engineering in hidden areas, but on decorative surfaces they can cost tens of thousands of dollars to reinstall. How do you know if your part has these "thick wall" issues during the injection molding process?
Fortunately, there are some easy solutions for thick walls. The first thing to do is to pay attention to the area where the problem is. In the sections below you can see two common problems: the thickness around the screw hole and the thickness in the part where strength is required.
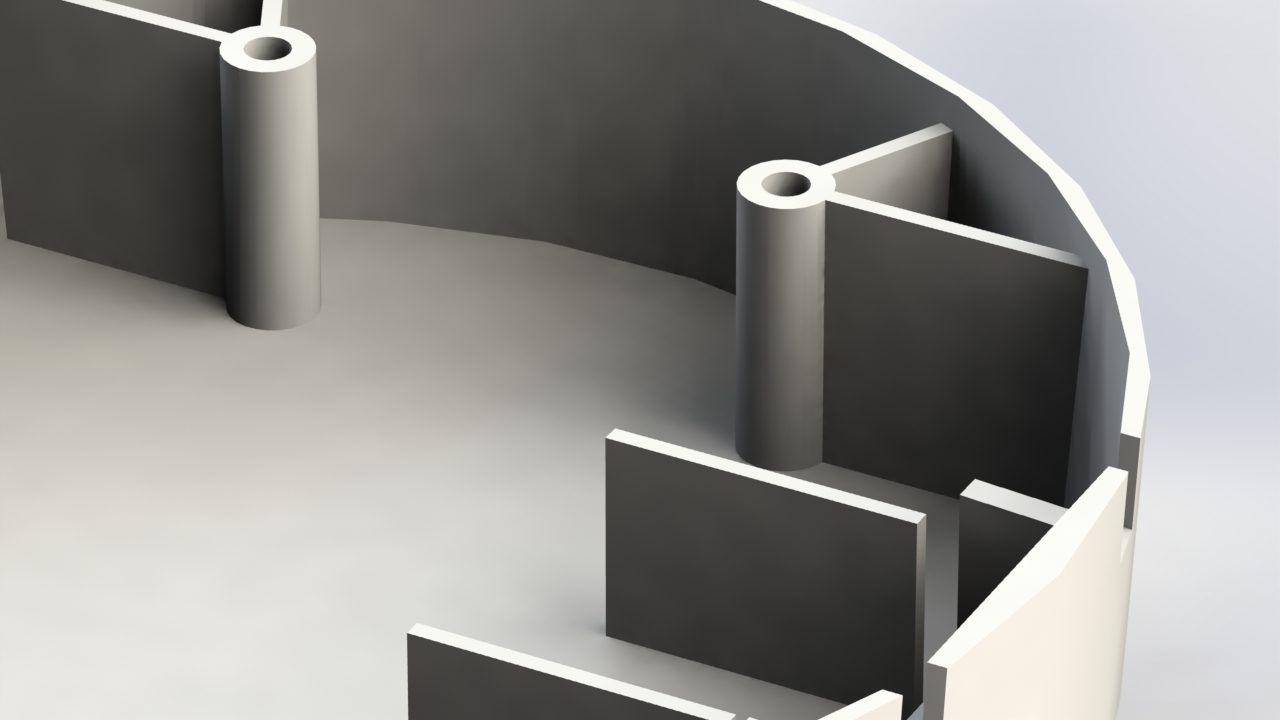
For tapped holes in injection molded parts, the solution is to use a "screw boss": a small cylinder of material directly surrounding the tapped hole, connected to the rest of the housing using a rib or flange of material. This allows for a more uniform wall thickness and fewer sink marks.

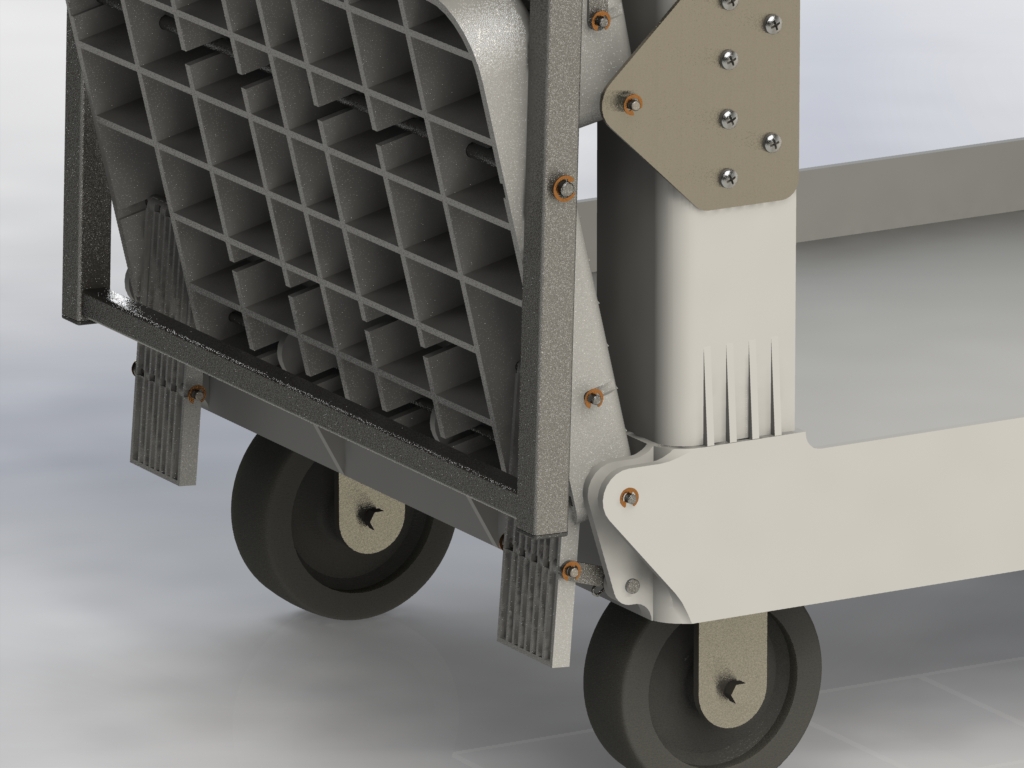
When an area of a part needs to be particularly strong, but the wall is too thick, the solution is also simple: reinforcement. Rather than making the entire part thick and difficult to cool, the outer surface is thinned into a shell and then vertical ribs of material are added inside for strength and stiffness. In addition to being easier to shape, this also reduces the amount of material required, reducing costs.

After making these changes, you can use the DFM tool again to check if the changes solved the problem. Of course, when everything is settled, parts can be prototyped in a 3D printer to test them before continuing with manufacturing.
--------------------------------END----------------------------------

